Quasar Google maps Javascript API with Places
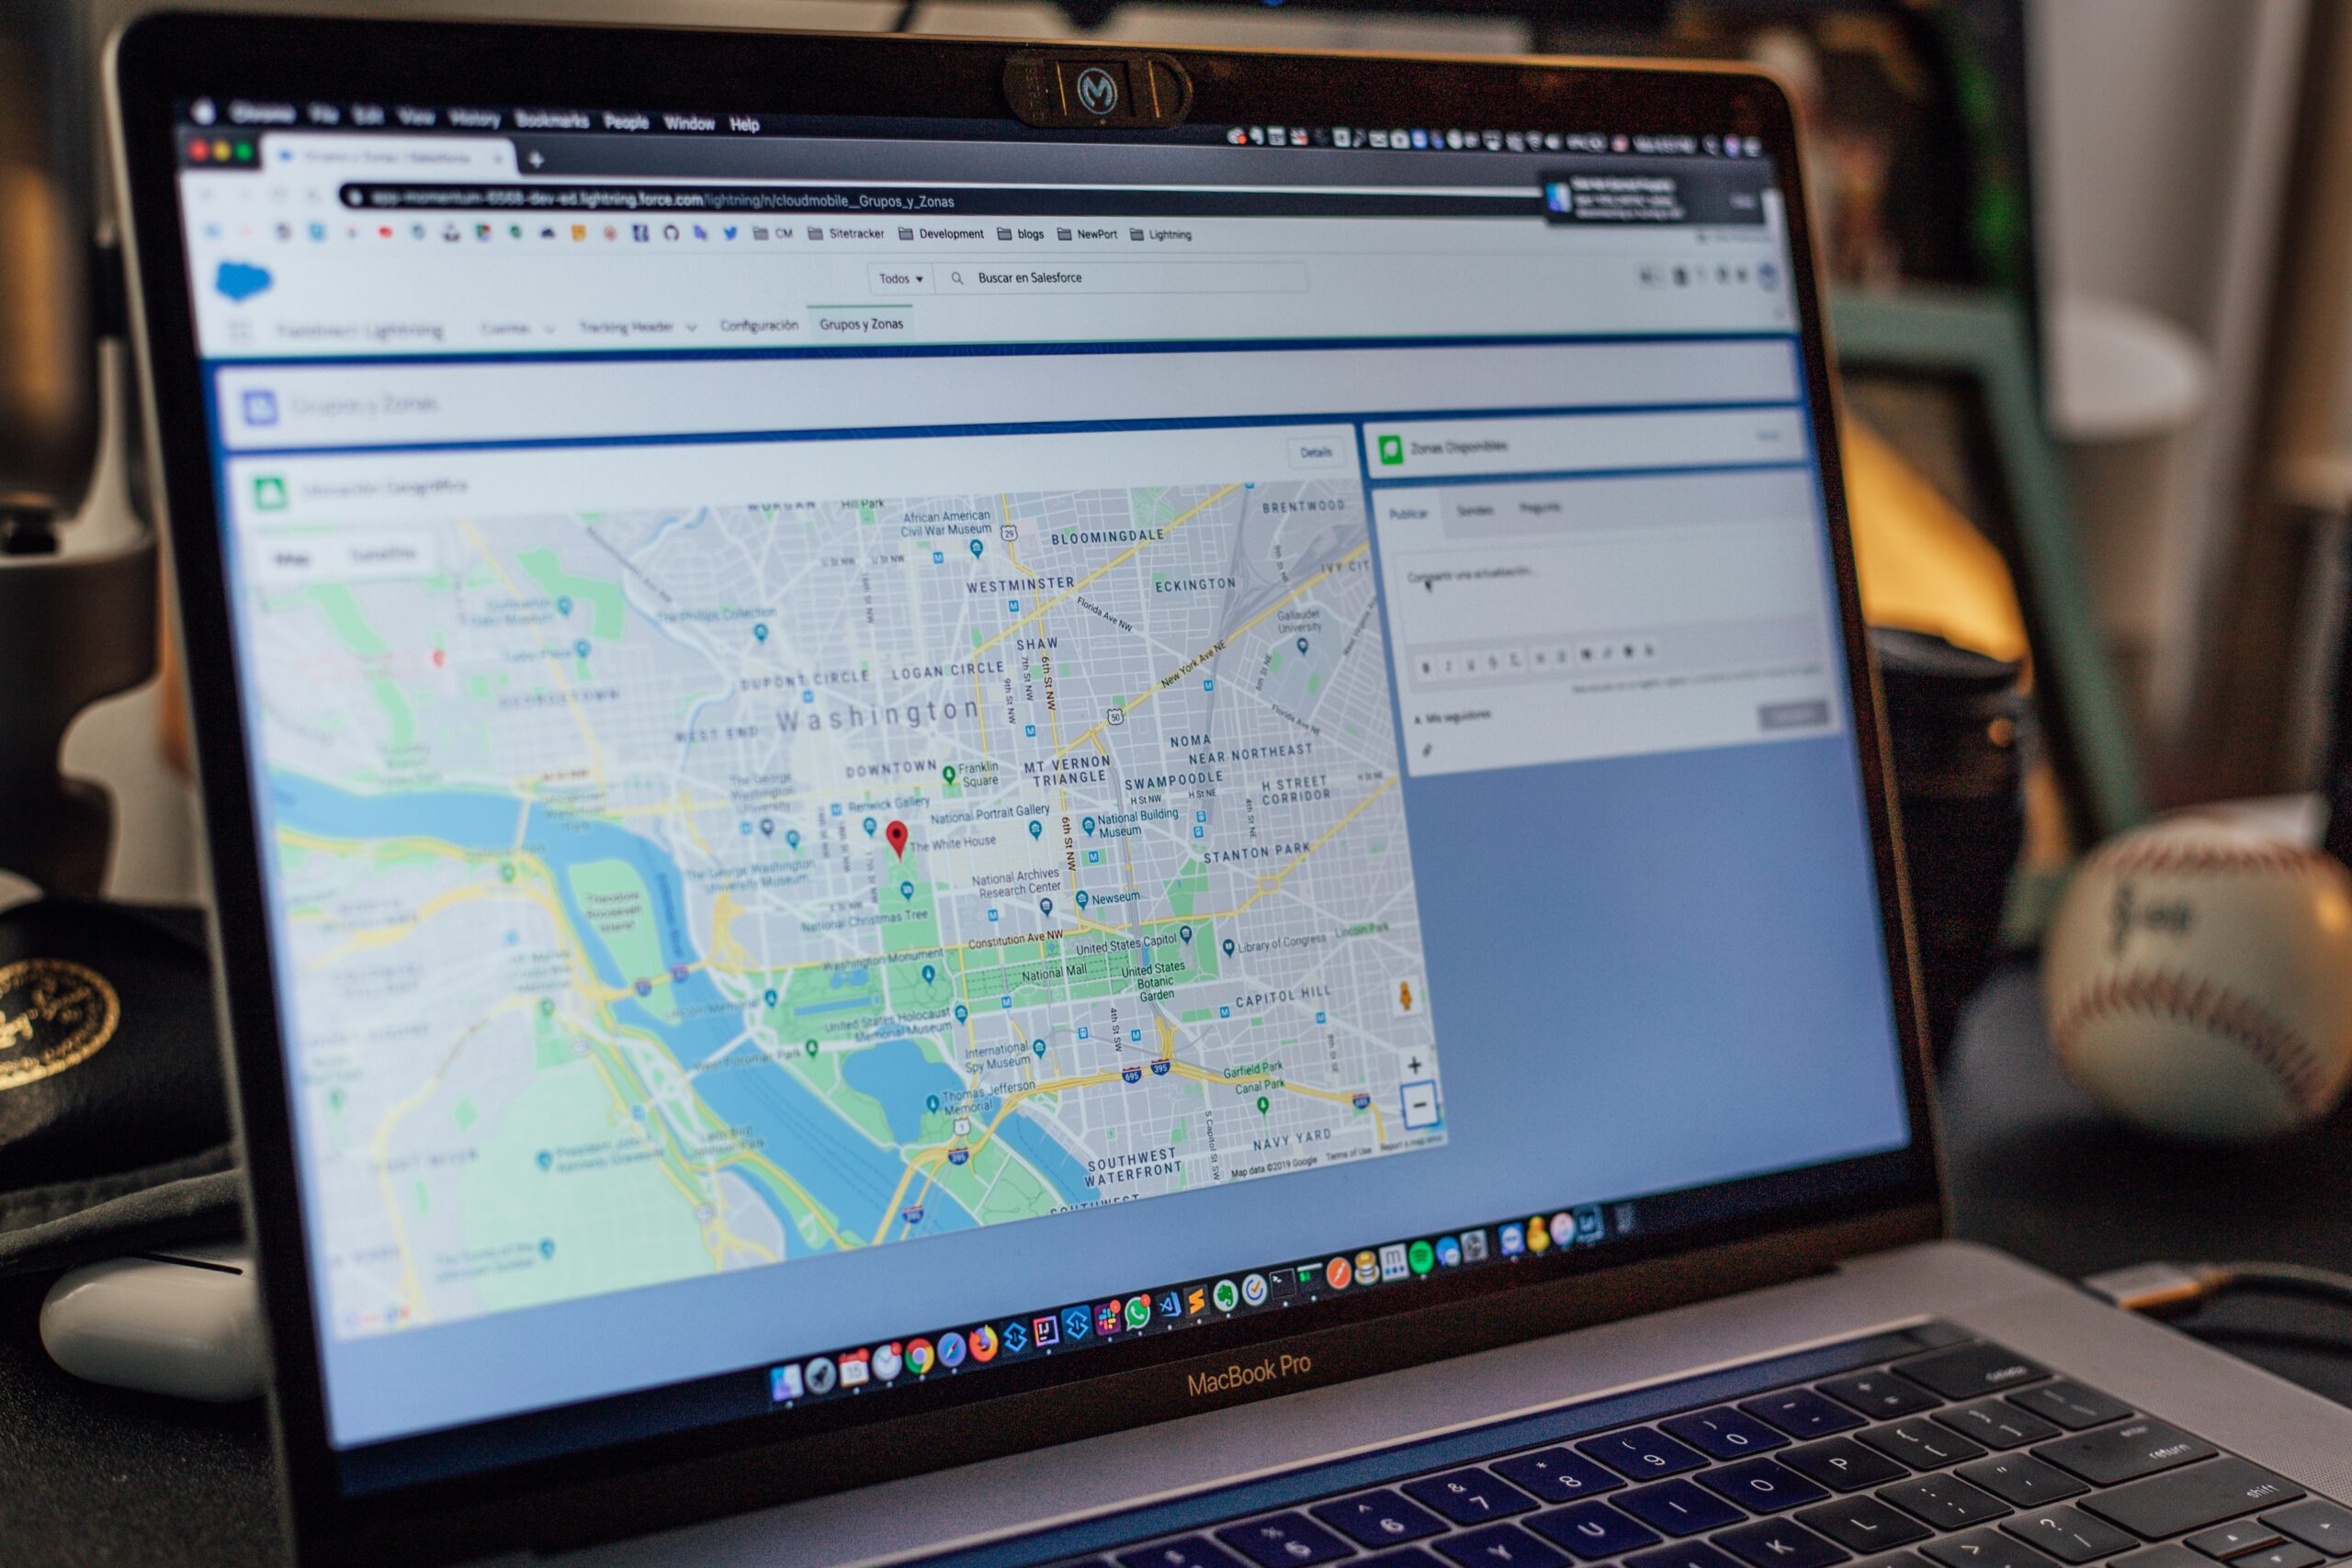
Hello friends! in this article I am going to show you how to add Google Maps to your quasar app along with Google maps Javascript API and Google Maps Places API. So when you need to built an app with a registration form or for an ecommerce site the Google maps are mostly important. There are many other APIs which provide the maps selection, But one of the famous API is Google maps. So rather than adding all the locations to the database and fetching to a dropdown (basically, it is hard if your site is open for all people in world), You can use a Maps API to get their locations easily.
So lets get start. Before we going to development we have some sort of thing to be done in order to integrate the API to our quasar project. Follow below steps.
First of all you have to enable and create an API key to your project. If you are beginner you can go to following link and check how to generate the API key for Google Maps Javascript API
https://developers.google.com/maps/documentation/javascript/get-api-key
If you are already done that or followed the above documentation, you might have enabled the Google Maps Javascript API and generated a API key.
Now along with that you have to enable Google Maps Places API too. This is important to give the user a dropdown with all places available in the Google maps.
Ok. Now we can move to the development part. I assure that you have created new Quasar project.
Development
Now you have to add the plugins to quasar project. Go to the quasar root folder and open with CMD and add following plugins.
If you using yarn
yarn add vue-browser-geolocation

if you using NPM
npm install vue-browser-geolocation
If you using yarn
yarn add vue2-google-maps
if you using NPM
npm install vue2-google-mapsSo you might see a file called index.tempate.html in quasar file directory. Go to the file and put this JS file in head section
<script async defer src="https://maps.googleapis.com/maps/api/js?key=your-api-key-here"></script>
Now create a new page or component (its your wish) and create the template as following.
<template>
 <div>
    <div>
      <h2>Search location</h2>
      <label>
        <gmap-autocomplete
          @place_changed="setLocation">
        </gmap-autocomplete>
        <button @click="markLocation">Add</button>
      </label>
      <br/>

    </div>
    <br>
    <gmap-map
      :center="center"
      :zoom="12"
      style="width:100%;  height: 400px;"
    >
      <gmap-marker
        :key="index"
        v-for="(n, index) in markers"
        :position="n.position"
        @click="center=n.position"
      ></gmap-marker>
    </gmap-map>
  </div>
</template>
All right. Now we set our page template. Now we have to add the scripts in order to run the Google Maps
<script>
import Vue from "vue";
import * as VueGoogleMaps from "vue2-google-maps";

Vue.use(VueGoogleMaps, {
  load: {
    key: "your-api-key-here",
    libraries: "places" // necessary for places input
  }
});

export default {
  name: "QuasarGoogleMap",
  data() {
    return {
      //You can change default center position
      center: { lat: 45.508, lng: -73.587 },
      markers: [],
      places: [],
      currentPlace: null
    };
  },

  mounted() {
    this.getGeoLocation();
  },

  methods: {
    // receives the place from the autocomplete input
    setLocation(place) {
      this.currentPlace = place;
    },
    markLocation() {
      if (this.currentPlace) {
        const marker = {
          lat: this.currentPlace.geometry.location.lat(),
          lng: this.currentPlace.geometry.location.lng()
        };
        this.markers.push({ position: marker });
        this.places.push(this.currentPlace);
        this.center = marker;
        this.currentPlace = null;

      }
    },
    getGeoLocation: function() {
      navigator.geolocation.getCurrentPosition(position => {
        this.center = {
          lat: position.coords.latitude,
          lng: position.coords.longitude
        };
      });


    }
  }
};
</script>
Thats it!! if you have any question please comment below. If you need to see my other post go to below link.


